Today we will learn how to run Producer-Consumer Architecture MicroServices using Spring Boot and RabbitMq on Docker. We will achieve this using below simple steps.
Step 1
Install Docker Desktop for Windows 10 from here.
Note: Get help in installing the Linux version docker here – https://docs.docker.com/install/linux/docker-ce/ubuntu/ but please note that this tutorial is run and tested to work on Windows environment only
Step 2
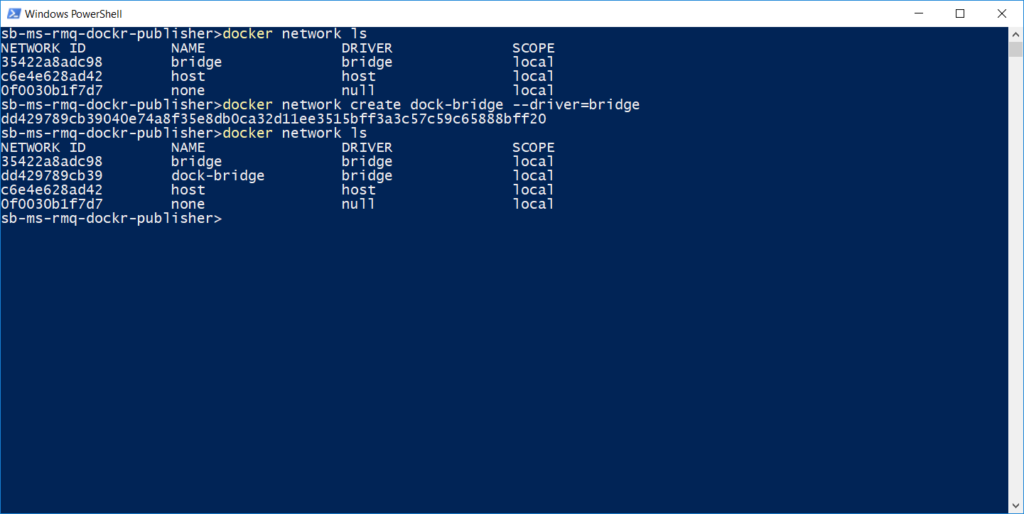
Open PowerShell or cmd and run the below command to create a docker network –
docker network create dock-bridge --driver=bridgeWe will use this docker network for intercommunication between services and RabbitMQ.
Step 3
Initialize RabbitMQ on docker
docker run -d --network dock-bridge --hostname my-hostname --name rabbit-on-dock-bridge -p 5672:5672 -p 15672:15672 rabbitmq:3-management 
Step 4
Clone the service producer code from our GitHub repository and build it
git clone https://github.com/webfuse2017/sb-ms-rmq-dockr-publishermvn clean package
Step 5
Build a docker image and run it
docker build -t publisher:1.0 .Here we specify the build tag in the format: <image_name>:<tag_name>
docker run -d -p 8080:8080 --network dock-bridge --name publisher publisher:1.0The last parameter publisher:1.0 is the image that we want to run in the format:
<image_name>:<tag_name> –name is used to give a name to the docker container

Step 6
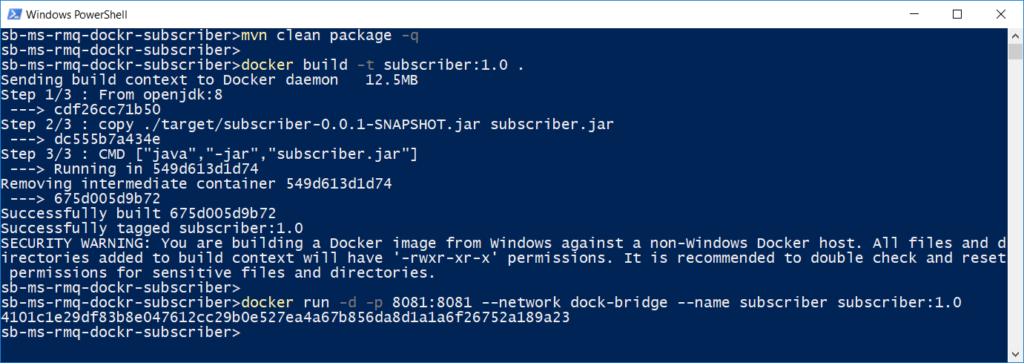
Repeat steps 4 & 5 for the subscriber
git clone https://github.com/webfuse2017/sb-ms-rmq-dockr-subscribermvn clean packagedocker build -t subscriber:1.0 .docker run -d -p 8081:8081 --network dock-bridge --name subscriber subscriber:1.0

Step 7
Verify all the containers using the docker desktop dashboard or using the below command
docker container ls --format "table {{.ID}}\t{{.Image}}\t{{.Status}}\t{{.Names}}"
Step 8
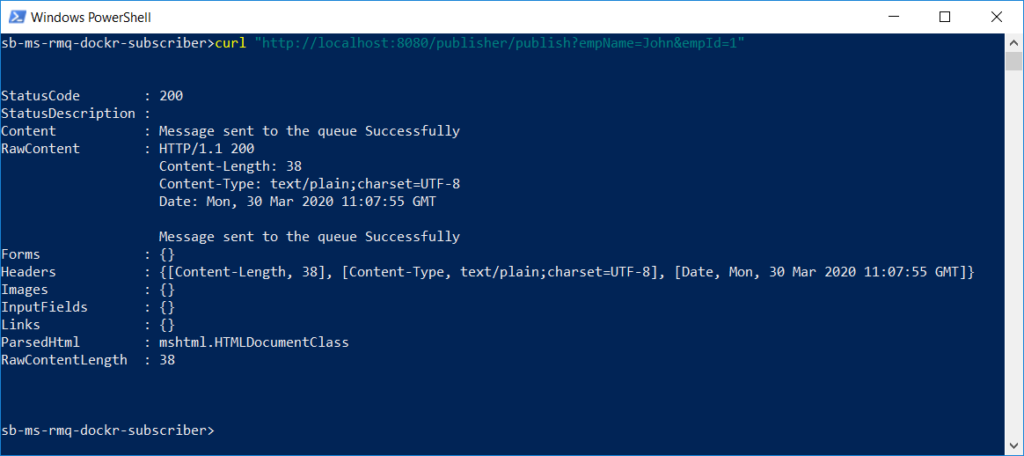
Hit the below URL from the browser to send a message :
http://localhost:8080/publisher/publish?empName=John&empId=1

Step 9
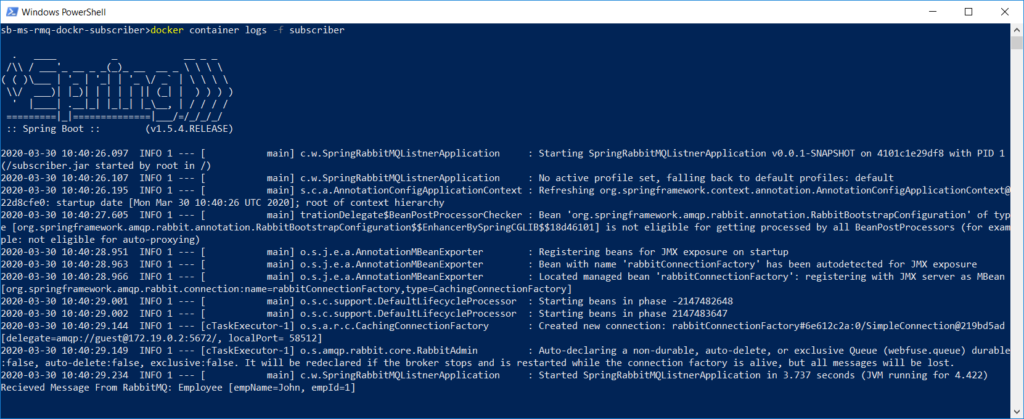
Open the docker desktop and see logs under subscriber to see the message printed. You can also run the below command on cmd or PowerShell to see the live logs of the subscriber.
docker container logs -f subscriber
Step 10
Access the RabbitMq dashboard from the browser then open it below on a browser –
http://localhost:15672/ and use guest as username and password.That’s all. Feel free to drop in your comments if you have any questions, clarification, or feedback on this quick Guide to Producer-Consumer Architecture using Spring-Boot, RabbitMq, and Docker


One thought on “A Quick Guide to Producer-Consumer Architecture using Spring-Boot, RabbitMq, and Docker”
Awesome tutorial. Thanks for writing such great stuffs! Its of great help to me and my team. we were just figuring out how to start on this and found your post! 🙂